> ## Documentation Index
> Fetch the complete documentation index at: https://docs.wandb.ai/llms.txt
> Use this file to discover all available pages before exploring further.
# Hugging Face AutoTrain
> 단일 CLI 파라미터만으로 코드 없이 모델 트레이닝을 수행할 수 있는 Hugging Face AutoTrain에서 W&B 실험 추적을 사용하세요.
[Hugging Face AutoTrain](https://huggingface.co/docs/autotrain/index)은 자연어 처리(NLP), 컴퓨터 비전(CV), 음성, 그리고 테이블형 작업까지 다양한 작업에서 최첨단 모델을 트레이닝할 수 있는 노코드 도구입니다.
[W\&B](https://wandb.com/)는 Hugging Face AutoTrain에 직접 통합되어 있어 실험 추적과 설정 관리를 제공합니다. 실험에 CLI 명령어에서 파라미터 하나만 추가하면 될 정도로 사용이 간단합니다.
## 사전 요구 사항 설치
`autotrain-advanced`와 `wandb`를 설치합니다.
```shell theme={null}
pip install --upgrade autotrain-advanced wandb
```
```notebook theme={null}
!pip install --upgrade autotrain-advanced wandb
```
이러한 변경 사항을 설명하기 위해, 이 페이지에서는 수학 데이터셋으로 LLM을 파인튜닝하여 [GSM8k Benchmarks](https://github.com/openai/grade-school-math)에서 `pass@1` 기준 SoTA 결과를 달성합니다.
## 데이터셋 준비
Hugging Face AutoTrain이 제대로 작동하려면 CSV 맞춤형 데이터셋이 특정 형식을 갖춰야 합니다.
* 트레이닝 파일에는 트레이닝에 사용하는 `text` 열이 반드시 포함되어야 합니다. 최상의 결과를 얻으려면 `text` 열의 데이터가 `### Human: Question?### Assistant: Answer.` 형식을 따라야 합니다. 좋은 예시는 [`timdettmers/openassistant-guanaco`](https://huggingface.co/datasets/timdettmers/openassistant-guanaco)에서 확인할 수 있습니다.
하지만 [MetaMathQA 데이터셋](https://huggingface.co/datasets/meta-math/MetaMathQA)에는 `query`, `response`, `type` 열이 포함되어 있습니다. 먼저 이 데이터셋을 전처리하세요. `type` 열을 제거하고, `query` 열과 `response` 열의 내용을 `### Human: Query?### Assistant: Response.` 형식의 새로운 `text` 열로 결합하세요. 트레이닝에는 이렇게 만든 데이터셋인 [`rishiraj/guanaco-style-metamath`](https://huggingface.co/datasets/rishiraj/guanaco-style-metamath)을 사용합니다.
## `autotrain`을 사용해 트레이닝하기
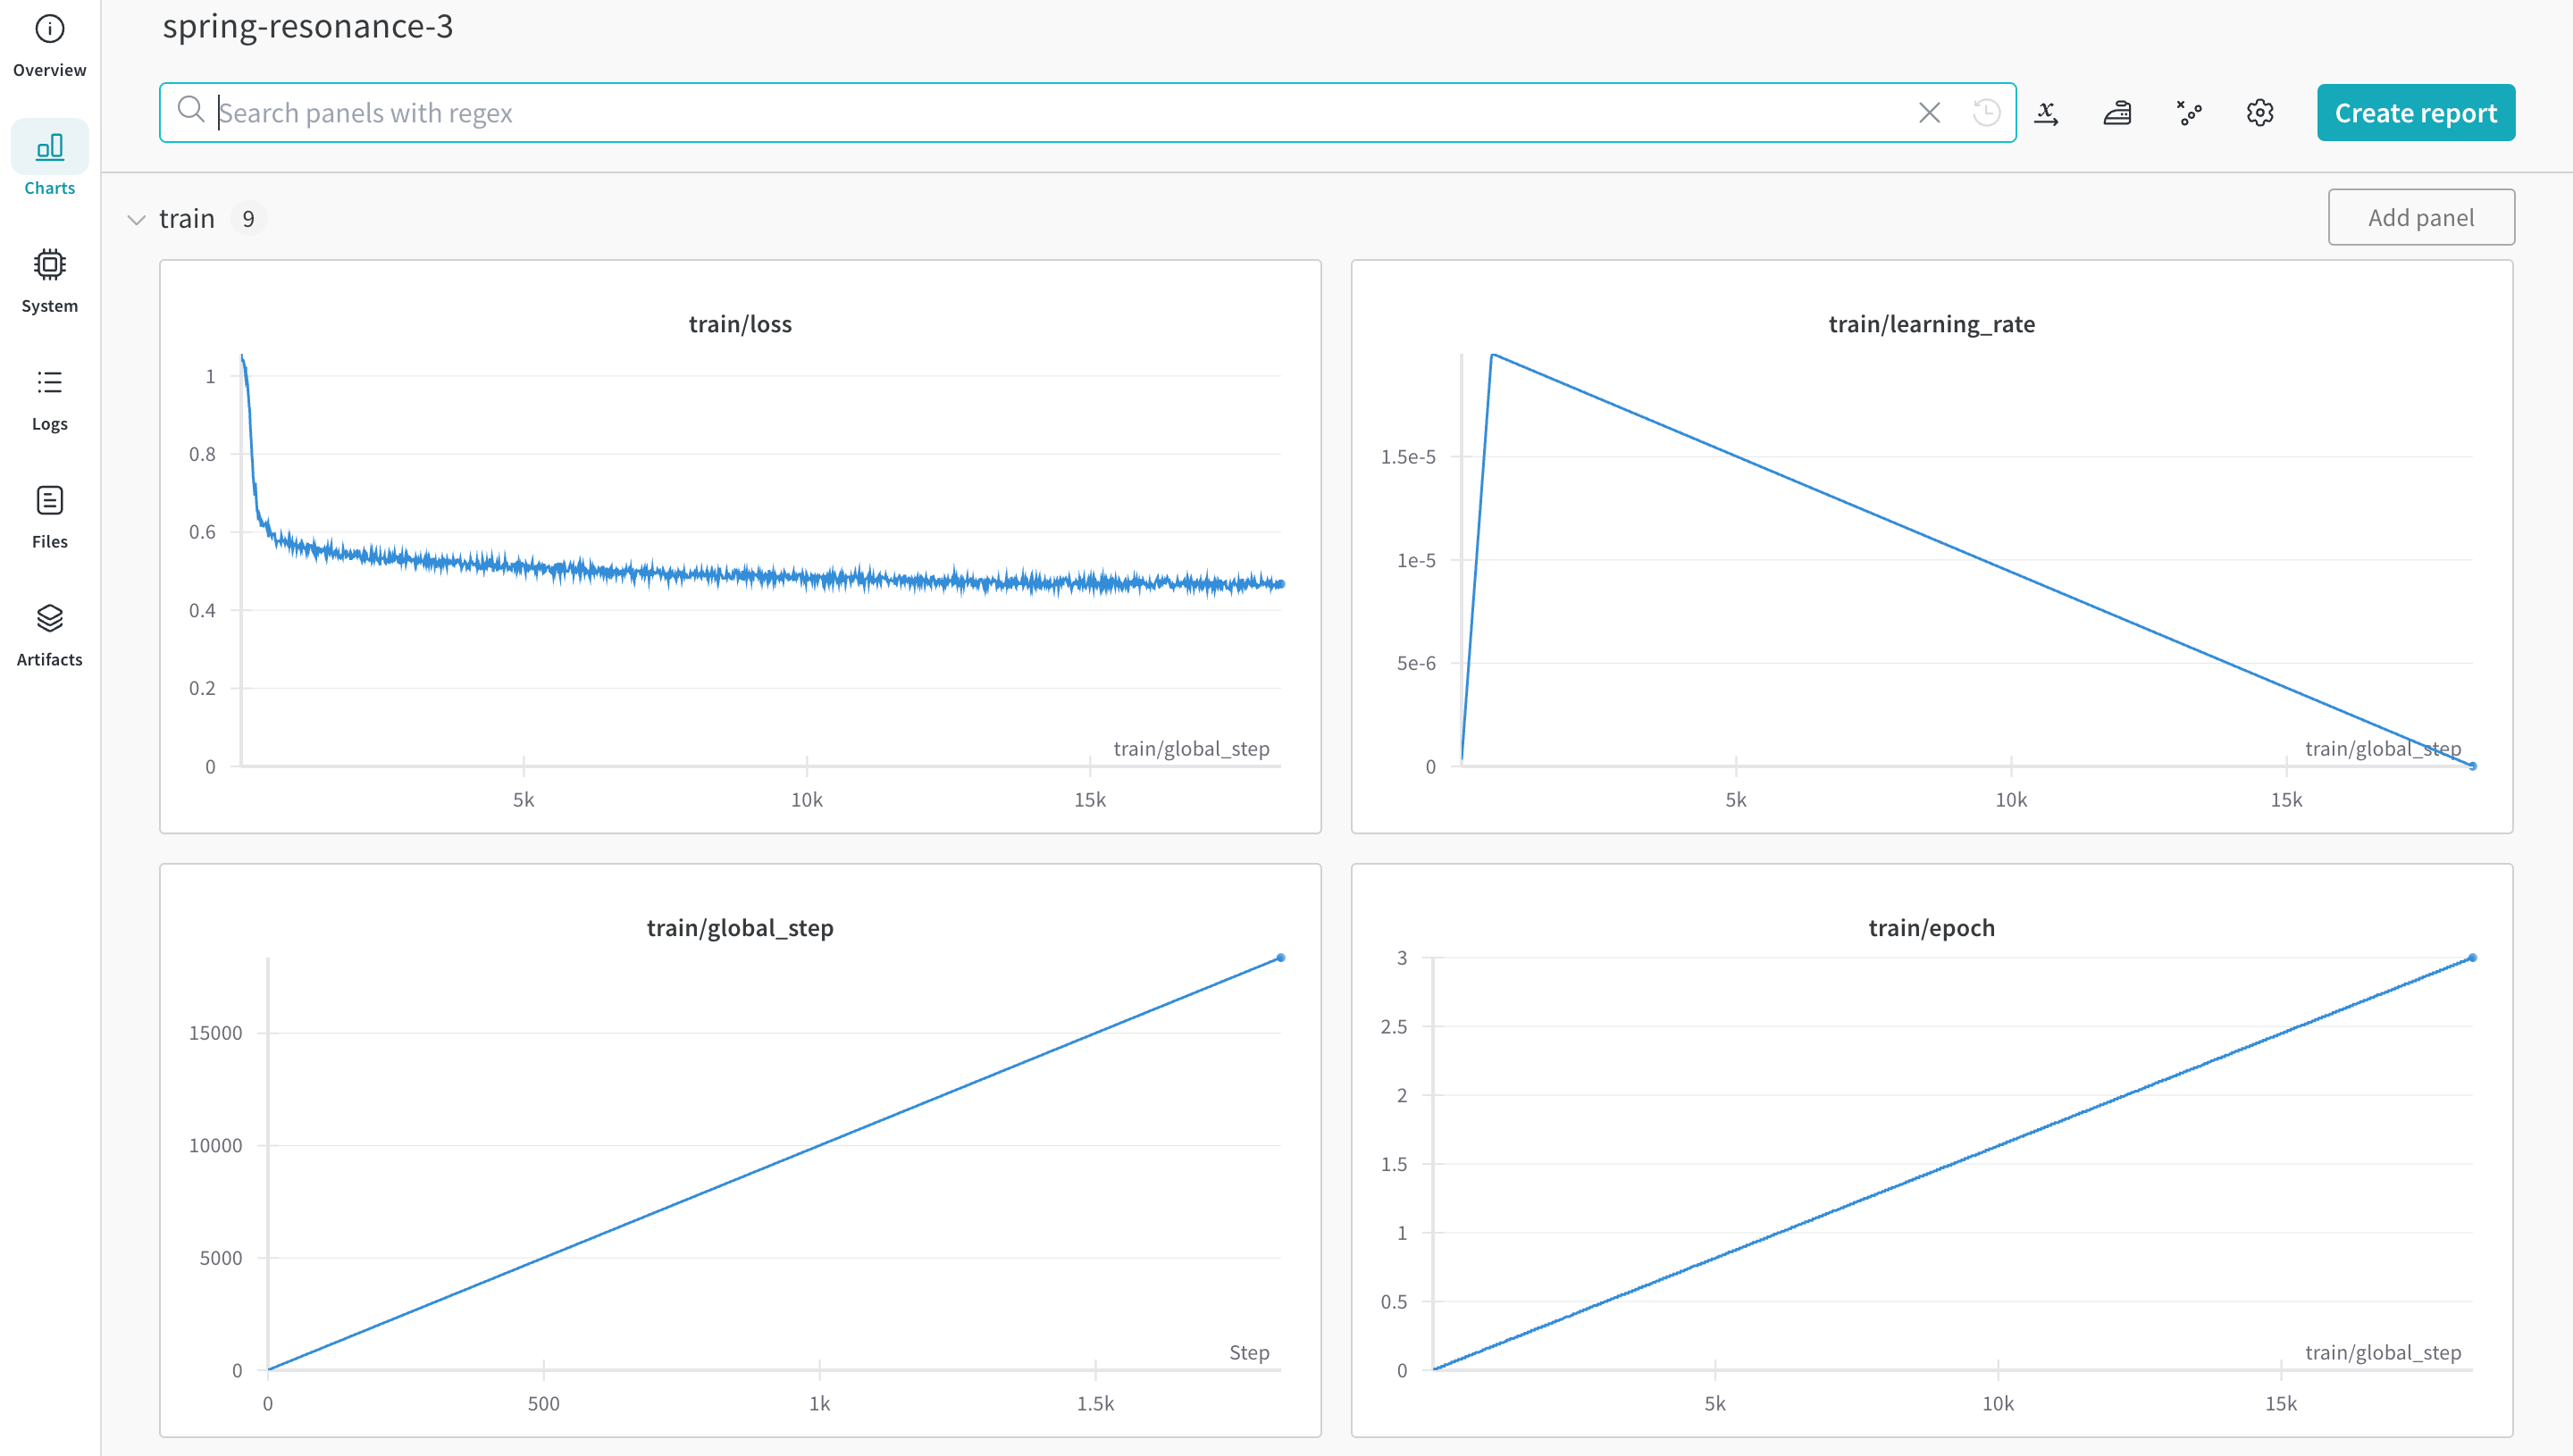
명령줄이나 노트북에서 `autotrain` advanced를 사용해 트레이닝을 시작할 수 있습니다. `--log` 인수를 사용하거나 `--log wandb`를 사용해 결과를 [W\&B Run](/ko/models/runs/)에 로깅하세요.
```shell theme={null}
autotrain llm \
--train \
--model HuggingFaceH4/zephyr-7b-alpha \
--project-name zephyr-math \
--log wandb \
--data-path data/ \
--text-column text \
--lr 2e-5 \
--batch-size 4 \
--epochs 3 \
--block-size 1024 \
--warmup-ratio 0.03 \
--lora-r 16 \
--lora-alpha 32 \
--lora-dropout 0.05 \
--weight-decay 0.0 \
--gradient-accumulation 4 \
--logging_steps 10 \
--fp16 \
--use-peft \
--use-int4 \
--merge-adapter \
--push-to-hub \
--token \
--repo-id
```
```notebook theme={null}
# 하이퍼파라미터 설정
learning_rate = 2e-5
num_epochs = 3
batch_size = 4
block_size = 1024
trainer = "sft"
warmup_ratio = 0.03
weight_decay = 0.
gradient_accumulation = 4
lora_r = 16
lora_alpha = 32
lora_dropout = 0.05
logging_steps = 10
# 트레이닝 실행
!autotrain llm \
--train \
--model "HuggingFaceH4/zephyr-7b-alpha" \
--project-name "zephyr-math" \
--log "wandb" \
--data-path data/ \
--text-column text \
--lr str(learning_rate) \
--batch-size str(batch_size) \
--epochs str(num_epochs) \
--block-size str(block_size) \
--warmup-ratio str(warmup_ratio) \
--lora-r str(lora_r) \
--lora-alpha str(lora_alpha) \
--lora-dropout str(lora_dropout) \
--weight-decay str(weight_decay) \
--gradient-accumulation str(gradient_accumulation) \
--logging-steps str(logging_steps) \
--fp16 \
--use-peft \
--use-int4 \
--merge-adapter \
--push-to-hub \
--token str(hf_token) \
--repo-id "rishiraj/zephyr-math"
```
## 추가 리소스
* [이제 AutoTrain Advanced에서 실험 추적을 지원합니다](https://huggingface.co/blog/rishiraj/log-autotrain) - [Rishiraj Acharya](https://huggingface.co/rishiraj) 작성
* [Hugging Face AutoTrain 문서](https://huggingface.co/docs/autotrain/index)