W&B Registry is a curated central repository of W&B Artifact versions within your organization. Users who have permission within your organization can download and use artifacts, share, and collaboratively manage the lifecycle of all artifacts, regardless of the team that the user belongs to. Use the Registry to track artifact versions, audit the history of an artifact’s usage and changes, ensure governance and compliance of your artifacts, and automate downstream processes such as model CI/CD. In summary, use W&B Registry to:Documentation Index
Fetch the complete documentation index at: https://docs.wandb.ai/llms.txt
Use this file to discover all available pages before exploring further.
- Promote artifact versions that satisfy a machine learning task to other users in your organization.
- Organize artifacts with tags so that you can find or reference specific artifacts.
- Track an artifact’s lineage and audit the history of changes.
- Automate downstream processes such as model CI/CD.
- Manage who in your organization can access artifacts in each registry.
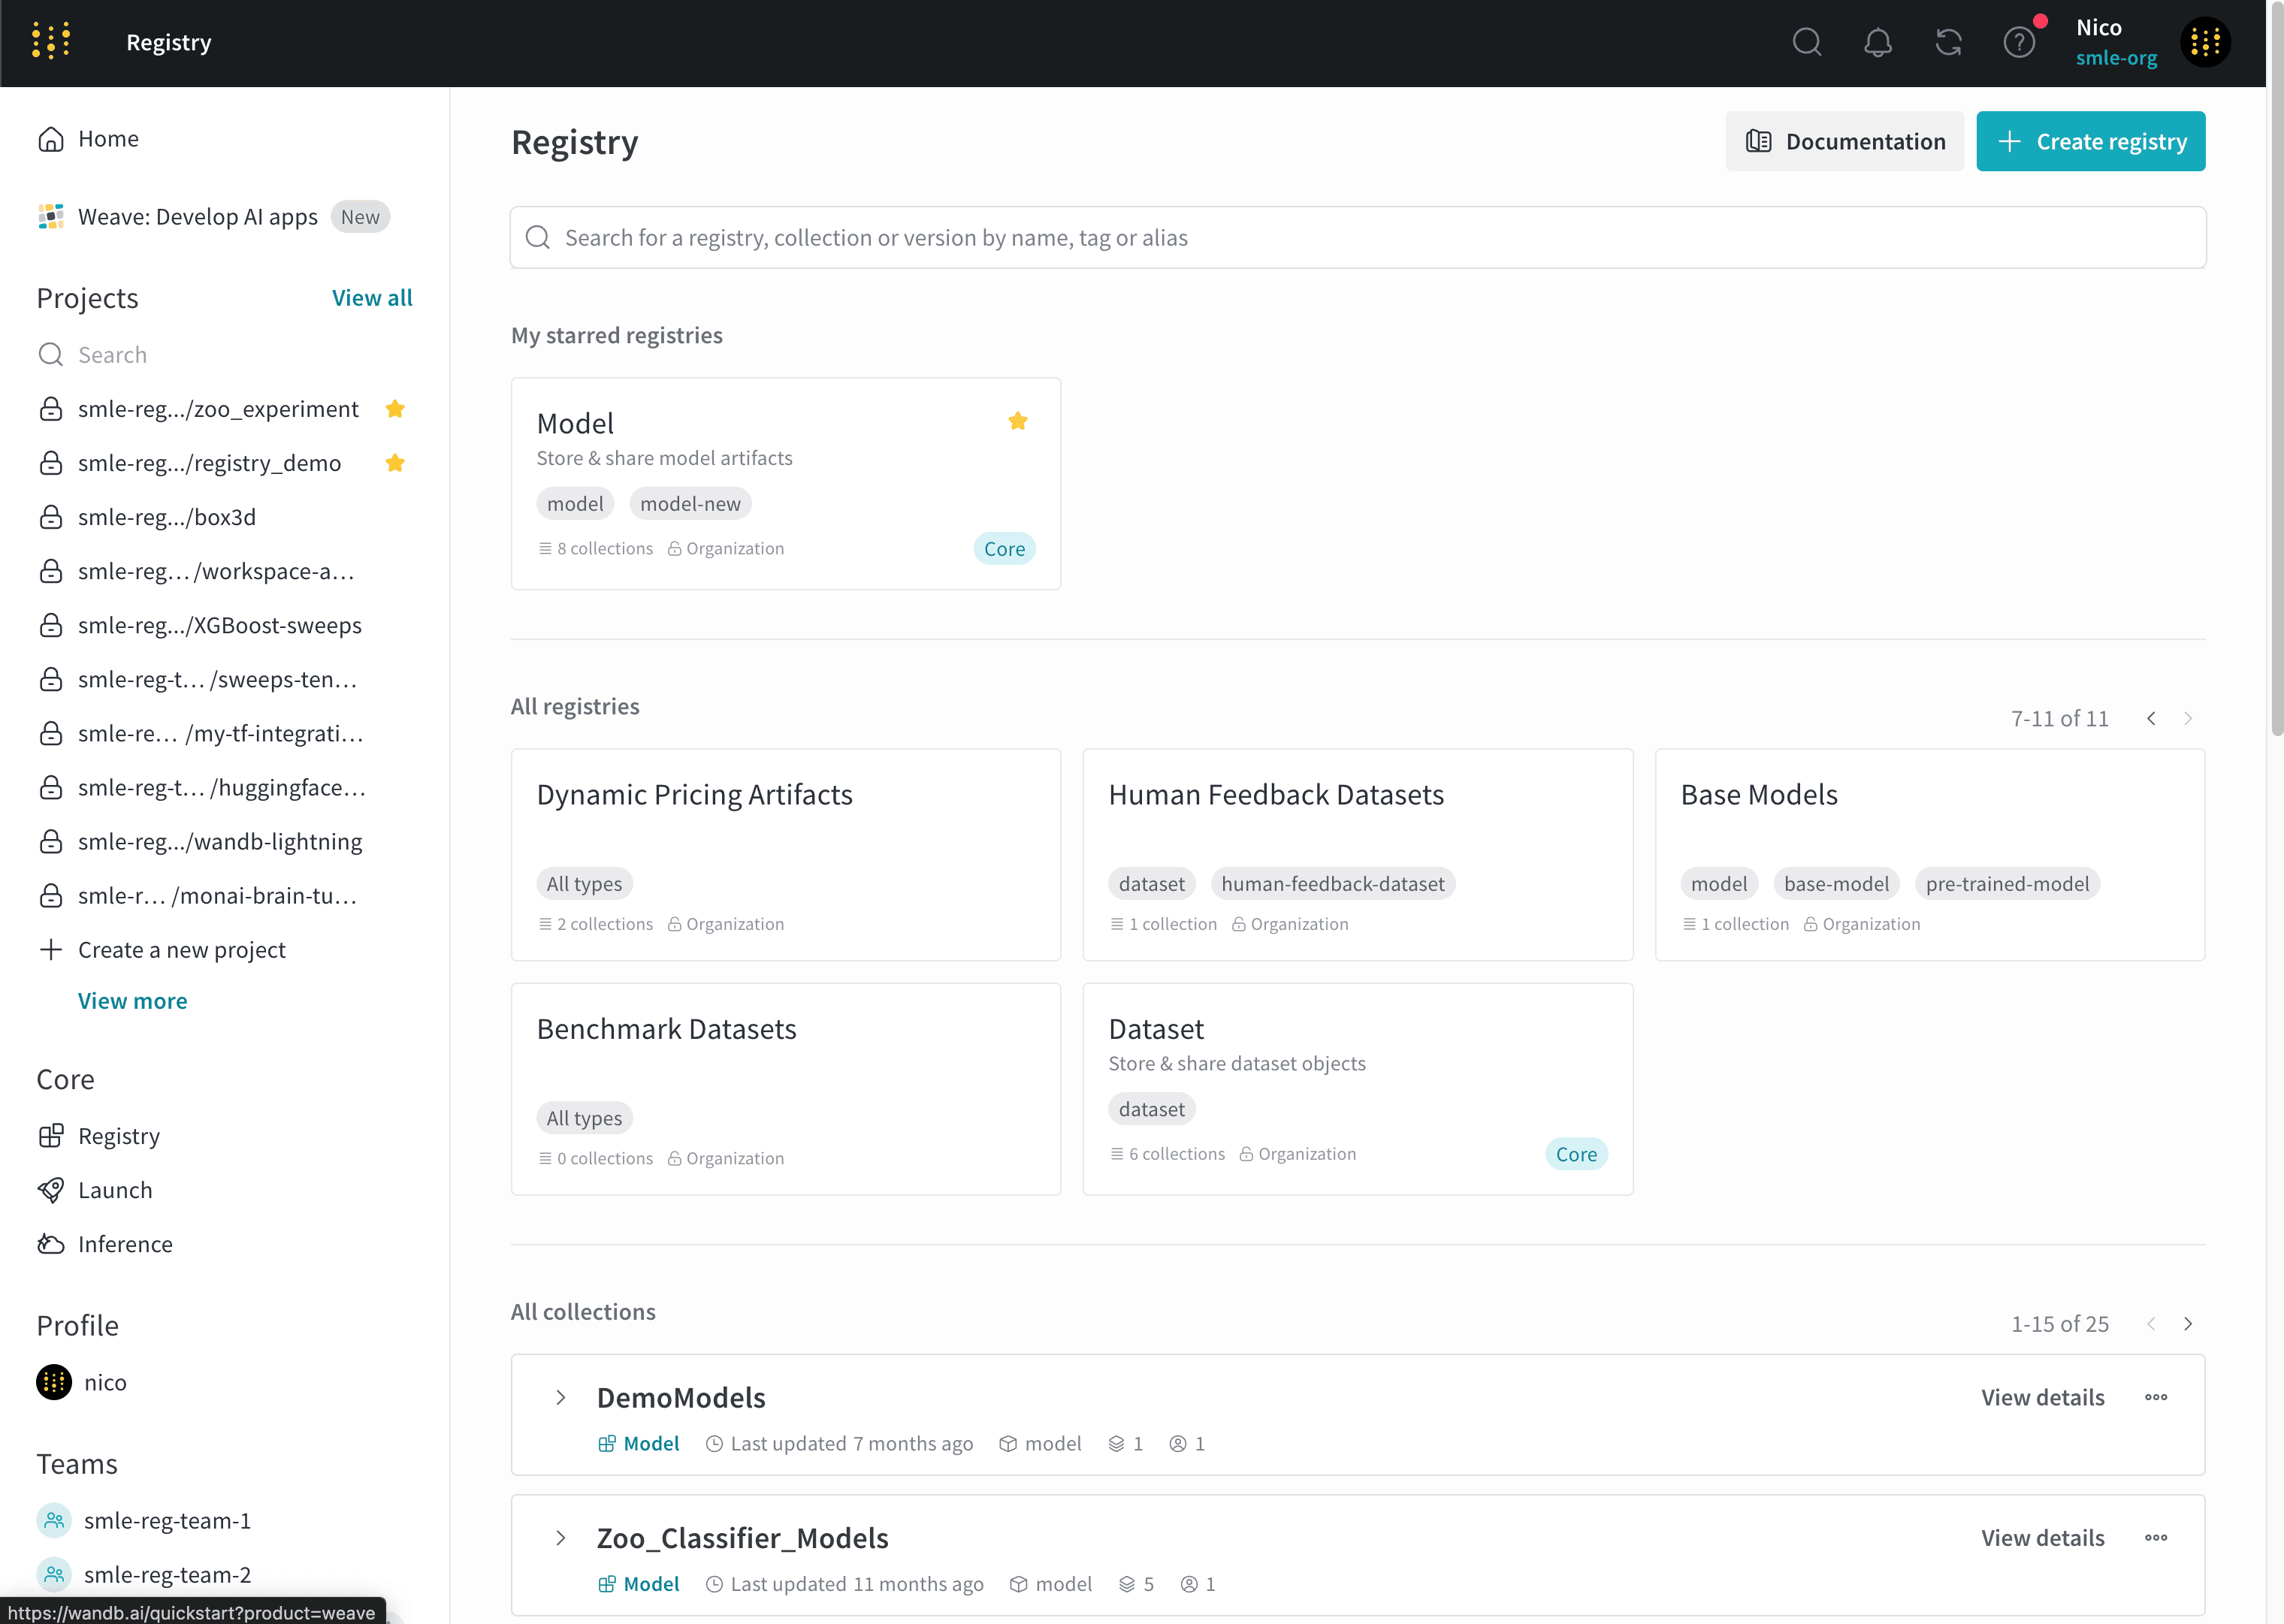
Model is starred. Two collections are shown DemoModels and Zoo_Classifier_Models.
Learn the basics
Each organization initially contains two registries that you can use to organize your model and dataset artifacts called Models and Datasets, respectively. You can create additional registries to organize other artifact types based on your organization’s needs. Each registry consists of one or more collections. Each collection represents a distinct task or use case. To add an artifact to a registry, you first log a specific artifact version to W&B. Each time you log an artifact, W&B automatically assigns a version to that artifact. Artifact versions use 0 indexing, so the first version isv0, the second version is v1, and so on.
Once you log an artifact to W&B, you can then link that specific artifact version to a collection in the registry.
The term “link” refers to pointers that connect where W&B stores the artifact and where the artifact is accessible in the registry. W&B does not duplicate artifacts when you link an artifact to a collection.
"my_model.txt" to a collection named "first-collection" within a registry called "model":
- Initialize a W&B Run with
wandb.init(). - Log the artifact to W&B with
wandb.Run.log(). - Specify the name of the collection and registry to link your artifact version to.
- Link the artifact to the collection using
wandb.Run.link_artifact().
hello_collection.py
wandb.Run.link_artifact(target_path = "") method does not exist within the registry you specify.
Continuing from the previous example, after you run the script, navigate to W&B Registry to view artifact versions that you and other members of your organization publish. Select Registry in the project sidebar below Applications. Select the "Model" registry. Within the registry, you should see the "first-collection" collection with your linked artifact version.
Once you link an artifact version to a collection within a registry, members of your organization can view, download, organize, and manage your artifact versions, create downstream automations, and more if they have the proper permissions.
If an artifact version logs metrics (such as by using
wandb.Run.log_artifact()), you can view metrics for that version from its details page, and you can compare metrics across artifact versions from the collection’s page. Refer to View linked artifacts in a registry.Enable W&B Registry
Based on your deployment type, satisfy the following conditions to enable W&B Registry:| Deployment type | How to enable |
|---|---|
| Multi-tenant Cloud | No action required. W&B Registry is available on the W&B App. |
| Dedicated Cloud | Contact your account team to enable W&B Registry for your deployment. |
| Self-Managed | For Server v0.70.0 or newer, no action required. For older supported Server versions, set the environment variable ENABLE_REGISTRY_UI to true. Refer to Configure environment variables. |
Resources to get started
Depending on your use case, explore the following resources to get started with the W&B Registry:- Check out the tutorial video:
- Take the W&B Model CI/CD course and learn how to:
- Use W&B Registry to manage and version your artifacts, track lineage, and promote models through different lifecycle stages.
- Automate your model management workflows using webhooks.
- Integrate the registry with external ML systems and tools for model evaluation, monitoring, and deployment.