

The owner of a project, a team admin, or an organization admin can set or edit a project’s visibility.
Visibility scopes
Visibility scope determines which users in your organization can see and contribute to a project. You can choose from four project visibility scopes. From most public to most private, they are:Set a project’s scope to Restricted if you want to collaborate on workflows related to sensitive or confidential data. When you create a restricted project within a team, you can invite or add specific members from the team to collaborate on relevant experiments, artifacts, and reports.Unlike other project scopes, all members of a team don’t get implicit access to a restricted project. At the same time, team admins can join restricted projects if needed.
Set visibility scope on a new or existing project
Set a project’s visibility scope when you create a project or when you edit it later. The following sections describe both workflows.- Only the owner of the project or a team admin can set or edit its visibility scope.
- When a team admin enables Make all future team projects private (public sharing not allowed) within a team’s privacy setting, that turns off Open and Public project visibility scopes for that team. In this case, your team can only use Team and Restricted scopes.
Set visibility scope when you create a project
To set the visibility scope for a new project:- Navigate to your W&B organization on a W&B Multi-tenant Cloud, Dedicated Cloud, or Self-Managed instance.
- Click the Create a new project button in the left-hand sidebar’s My projects section. Alternatively, navigate to the Projects tab of your team and click the Create new project button in the upper right-hand corner.
- After you select the parent team and enter the name of the project, select the desired scope from the Project Visibility dropdown. Complete the following step if you select Restricted visibility.
-
Provide names of one or more W&B team members in the Invite team members field. Add only those members who are essential to collaborate on the project, since other team members don’t get implicit access to a restricted project.
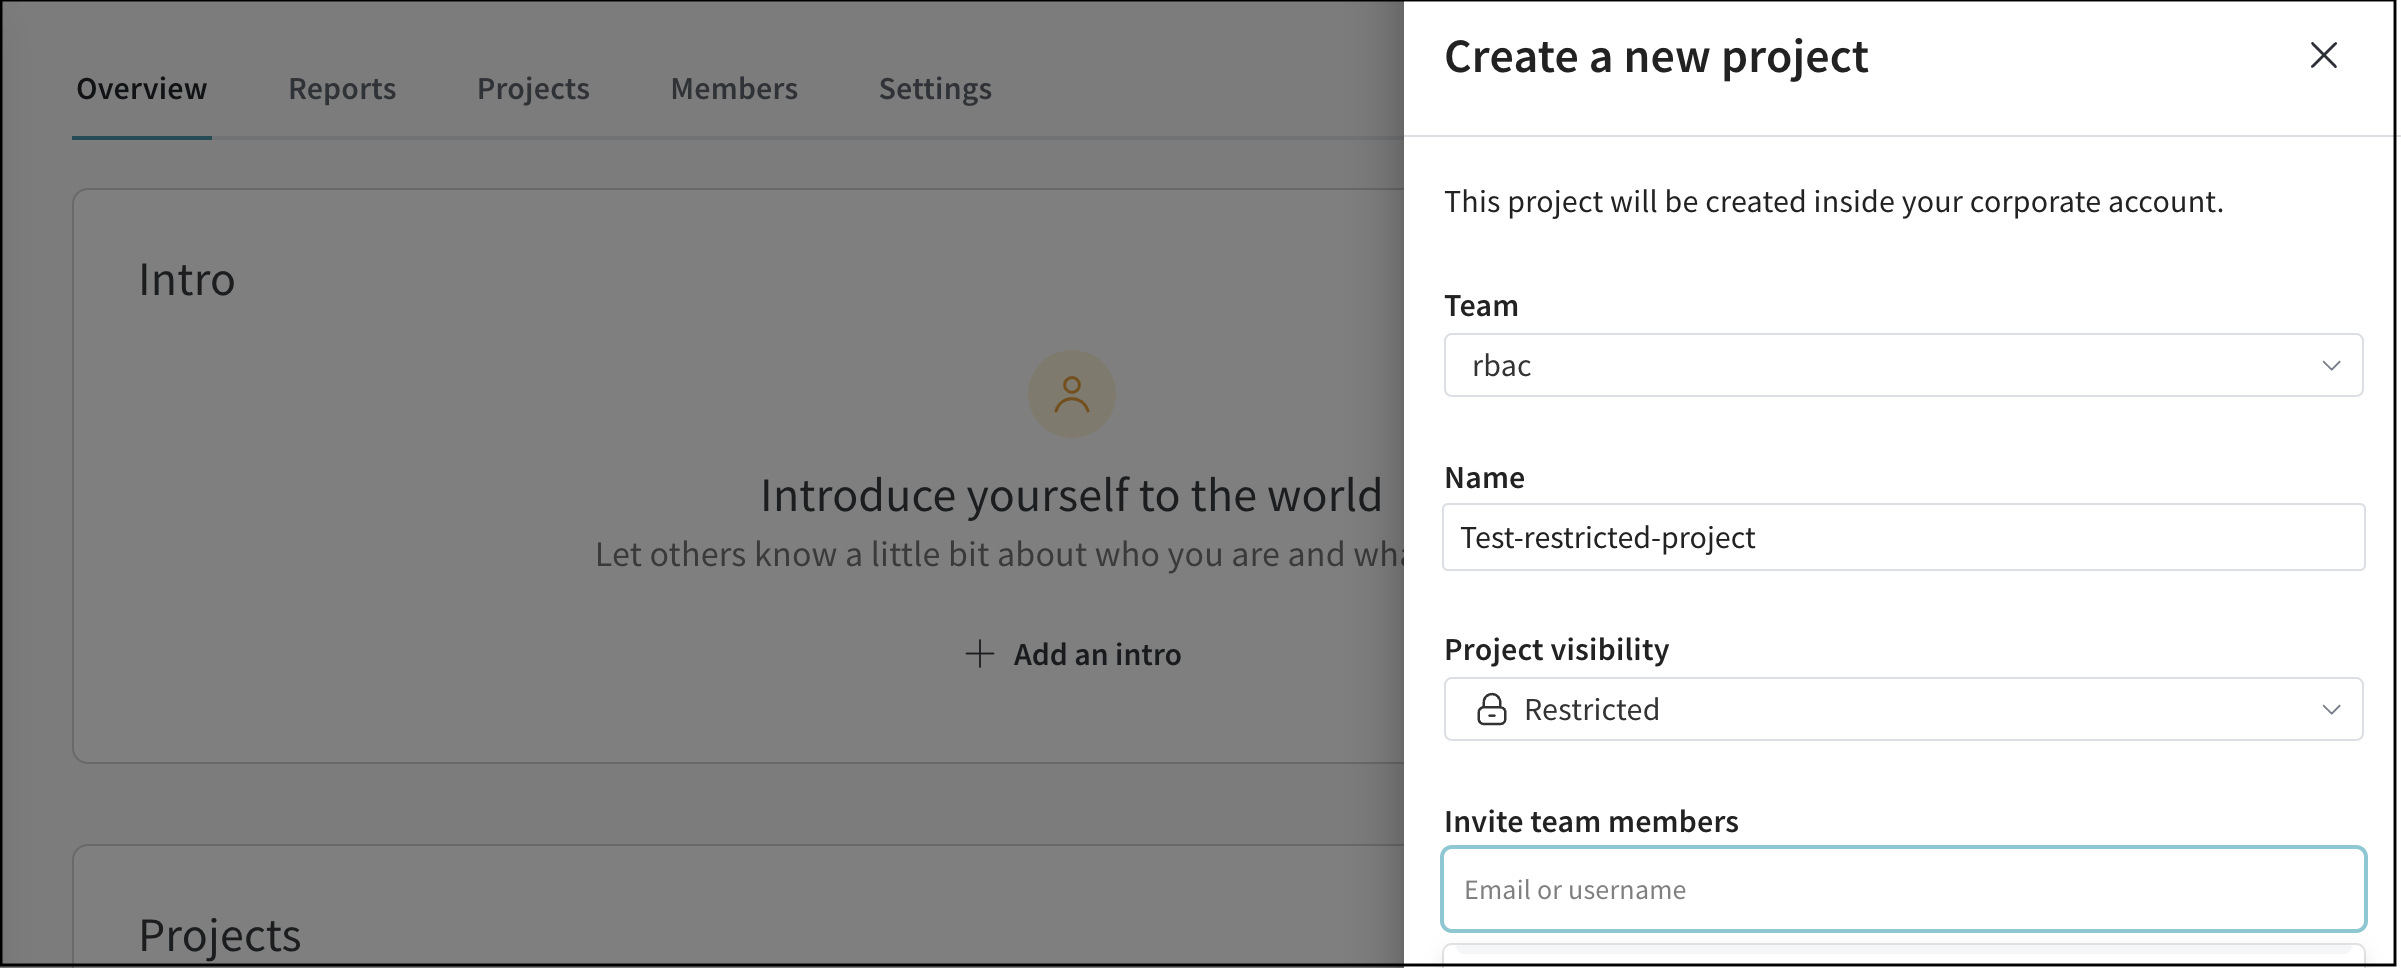 You can add or remove members in a restricted project later, from its Users tab.
Edit visibility scope of an existing project
To change the visibility scope of an existing project:- Navigate to your W&B project.
- From the top of any project page, click the icon next to the project name to edit the project’s visibility. The icon reflects the current visibility scope: Open, Public, Team, or Restricted. See Visibility scopes.
- From the Project Visibility dropdown, select the desired scope, then click Save. W&B updates the project’s visibility scope, and access reflects the new scope.
-
To share a restricted project:
- Click Project in the left navigation to open the project Overview page.
- Select the Users tab.
- Click Add user and select one or more specific users to invite them to the project.
Other key things to note for restricted scope
Keep the following behaviors in mind when working with restricted projects:- If you want to use a team-level service account in a restricted project, you must invite or add it specifically to the project. Otherwise a team-level service account can’t access a restricted project by default.
- You can’t move runs from a restricted project, but you can move runs from a non-restricted project to a restricted one.
- You can convert the visibility of a restricted project to only Team scope, irrespective of the team privacy setting Make all future team projects private (public sharing not allowed).
- If the owner of a restricted project isn’t part of the parent team anymore, the team admin must change the owner to maintain access to the project.
Project level roles
After you set a project’s visibility scope, you can further refine each user’s permissions inside the project by assigning a project level role. For Team or Restricted scoped projects in your team, you can assign a specific role to a user, which can differ from that user’s team level role. For example, if a user has Member role at the team level, you can assign the View-Only, Admin, or any available custom role to that user within a Team or Restricted scope project in that team.Project level roles are in preview on W&B Multi-tenant Cloud, Dedicated Cloud, and Self-Managed instances.
Assign a project level role to a user
To assign a project level role:- Navigate to your W&B project.
- In the project sidebar, click Project.
- Navigate to the Users tab in the project.
- Click the currently assigned role for the relevant user in the Project Role field, which opens a dropdown listing the other available roles.
- Select another role from the dropdown. The change saves instantly.
When you change the project level role for a user to be different from their team level role, the project level role includes a * to indicate the difference.
Other key things to note for project level roles
Keep the following behaviors in mind when assigning or changing project level roles:- By default, project level roles for all users in a Team or Restricted scoped project inherit their respective team level roles.
- You can’t change the project level role of a user who has View-Only role at the team level.
- If the project level role for a user within a particular project is the same as the team level role, and a team admin later changes the team level role, W&B automatically changes the relevant project role to track the team level role.
- If you change the project level role for a user within a particular project such that it differs from the team level role, and a team admin later changes the team level role, the relevant project level role remains as is.
- If you remove a user from a Restricted project when their project level role differed from the team level role, and you then add the user back to the project later, they inherit the team level role due to the default behavior. If needed, change the project level role again to differ from the team level role.