概要
- Python
- TypeScript
このガイドの例ではアノテーションを使用します。メディアのログを始める最も直接的な方法であるため、アノテーションの使用を推奨します。より高度な設定については、Content API セクションを参照してください。メディアを Weave にログするには、
Annotated[bytes, Content] や Annotated[str, Content] のような型アノテーションを、op の入力型または戻り値の型として追加します。パス引数に Annotated[str, Content] でアノテーションを付けると、Weave はトレース内でそのメディアを自動的に開いて検出し、表示します。バイトデータを Weave にアップロードせずに、ご自身のクラウド バケットにすでにあるメディアを表示するには、Reference media in your own bucket (BYOB)を参照してください。
画像をログする
- Python
- TypeScript
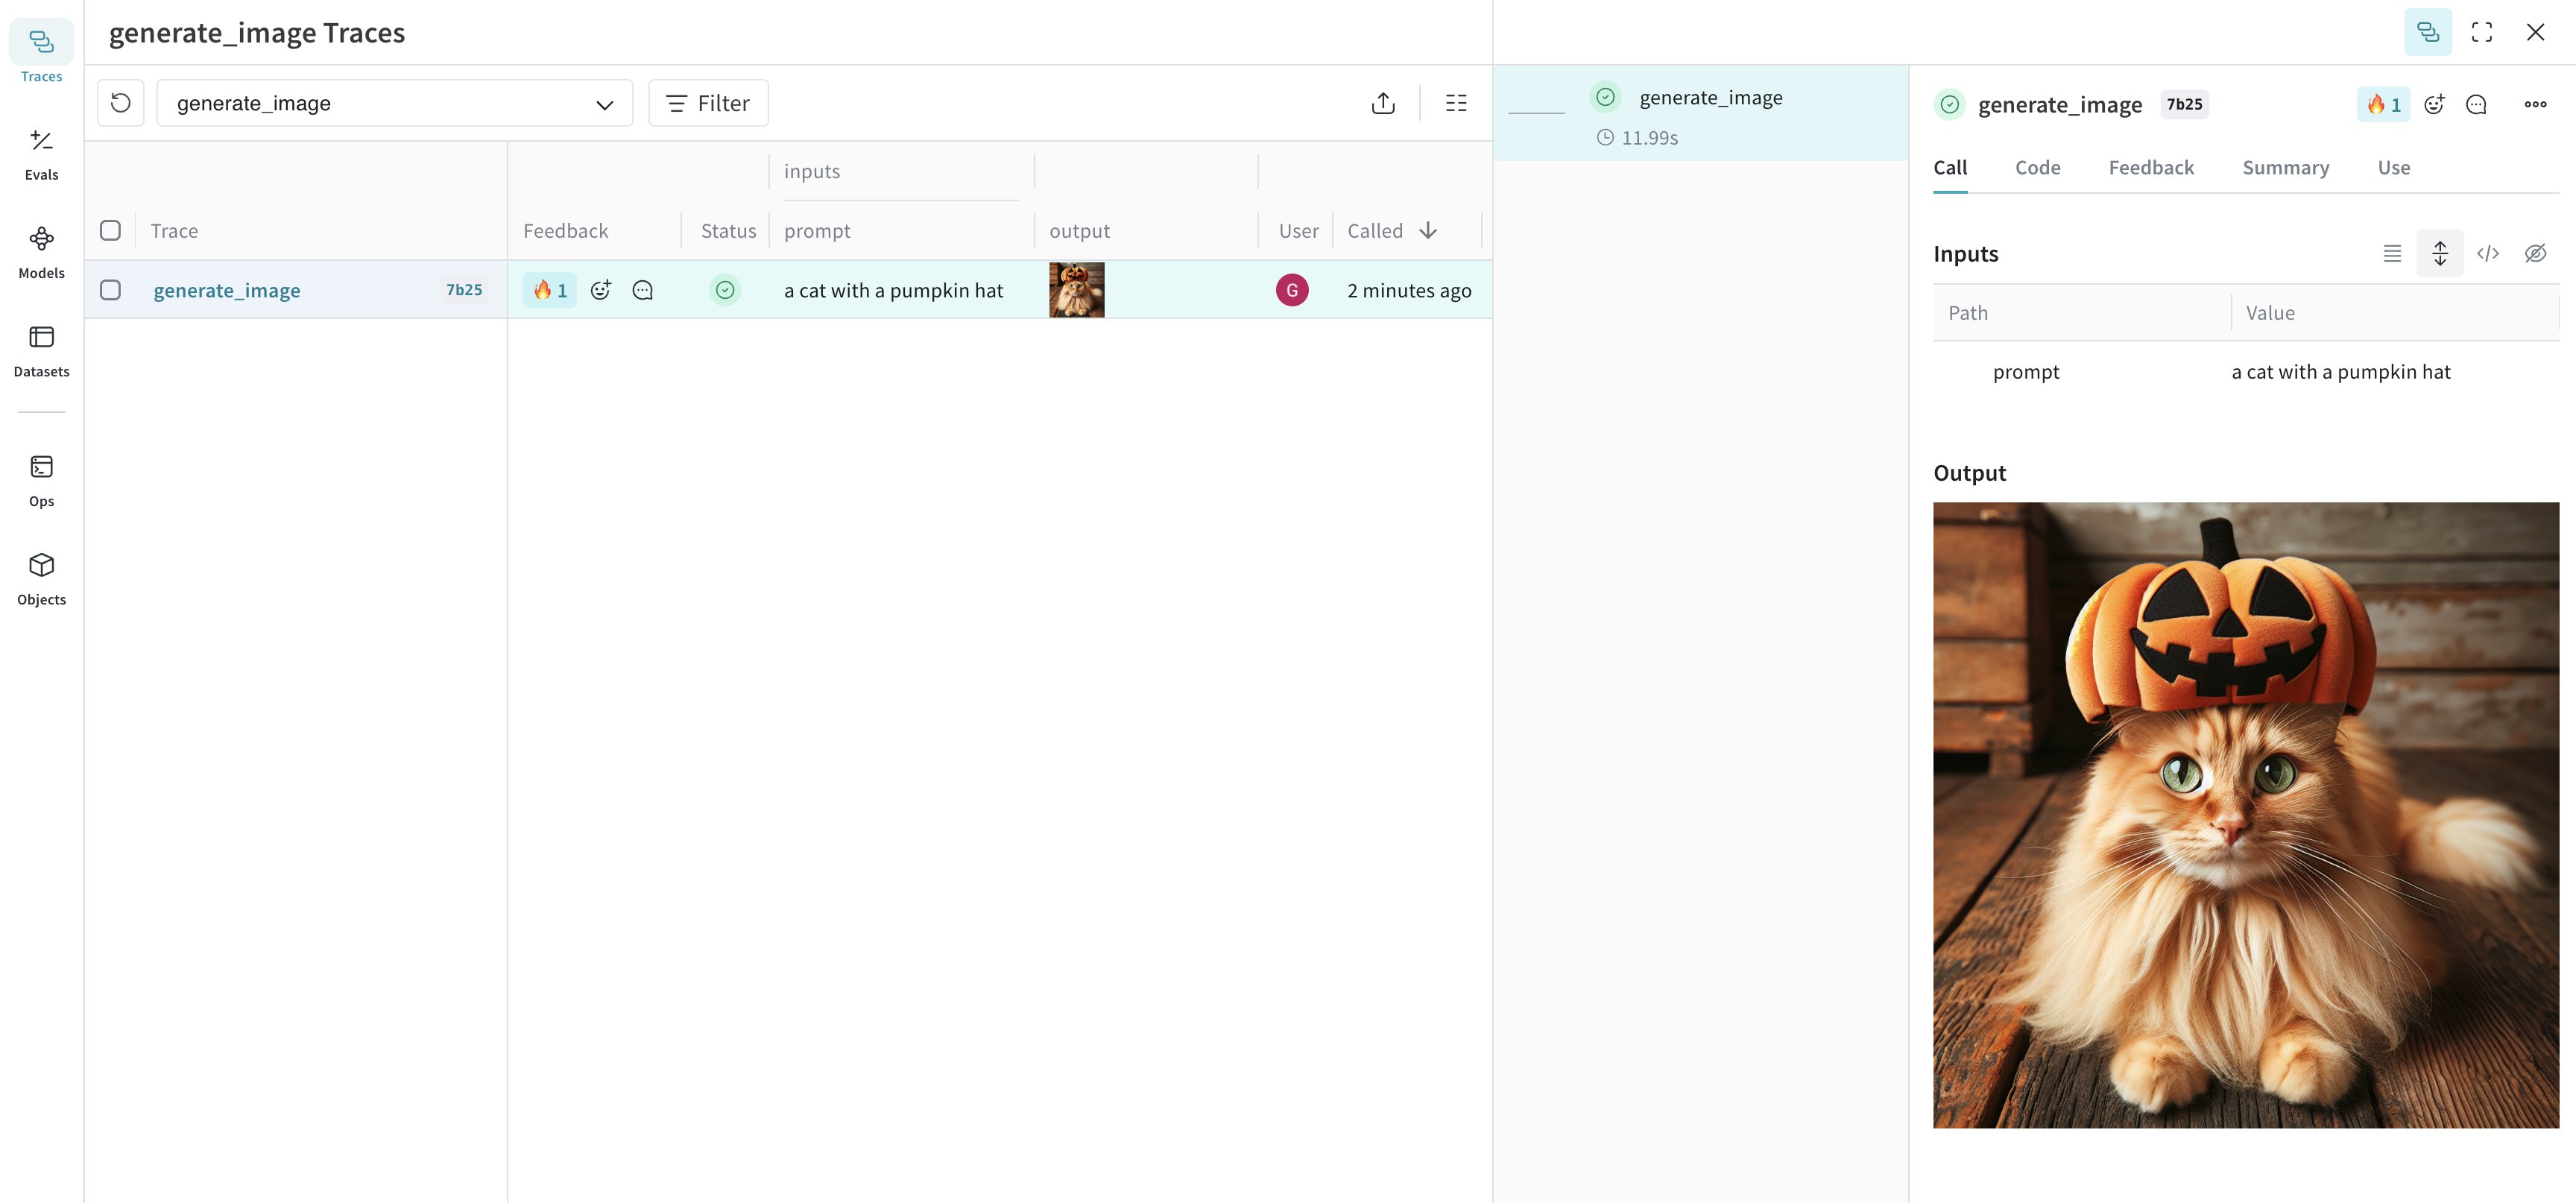
Annotated[bytes, Content] を関数のアノテーションとして使用するか、Annotated[str, Content] をファイルパスのアノテーションとして使用して、画像をログできます。次の例では、シンプルな画像を描画し、その後 Content アノテーションを使って Weave にログします。応用例: DALL-E で画像を生成して Weave にログする
次の例では、猫の画像を生成して Weave にログします。高度な例: ログする前に大きな画像をリサイズする
UI のレンダリングコストやストレージへの影響を抑えるため、ログする前に画像をリサイズしておくと便利です。画像をリサイズするには、@weave.op で postprocess_output を使用できます。動画をログする
- Python
- TypeScript
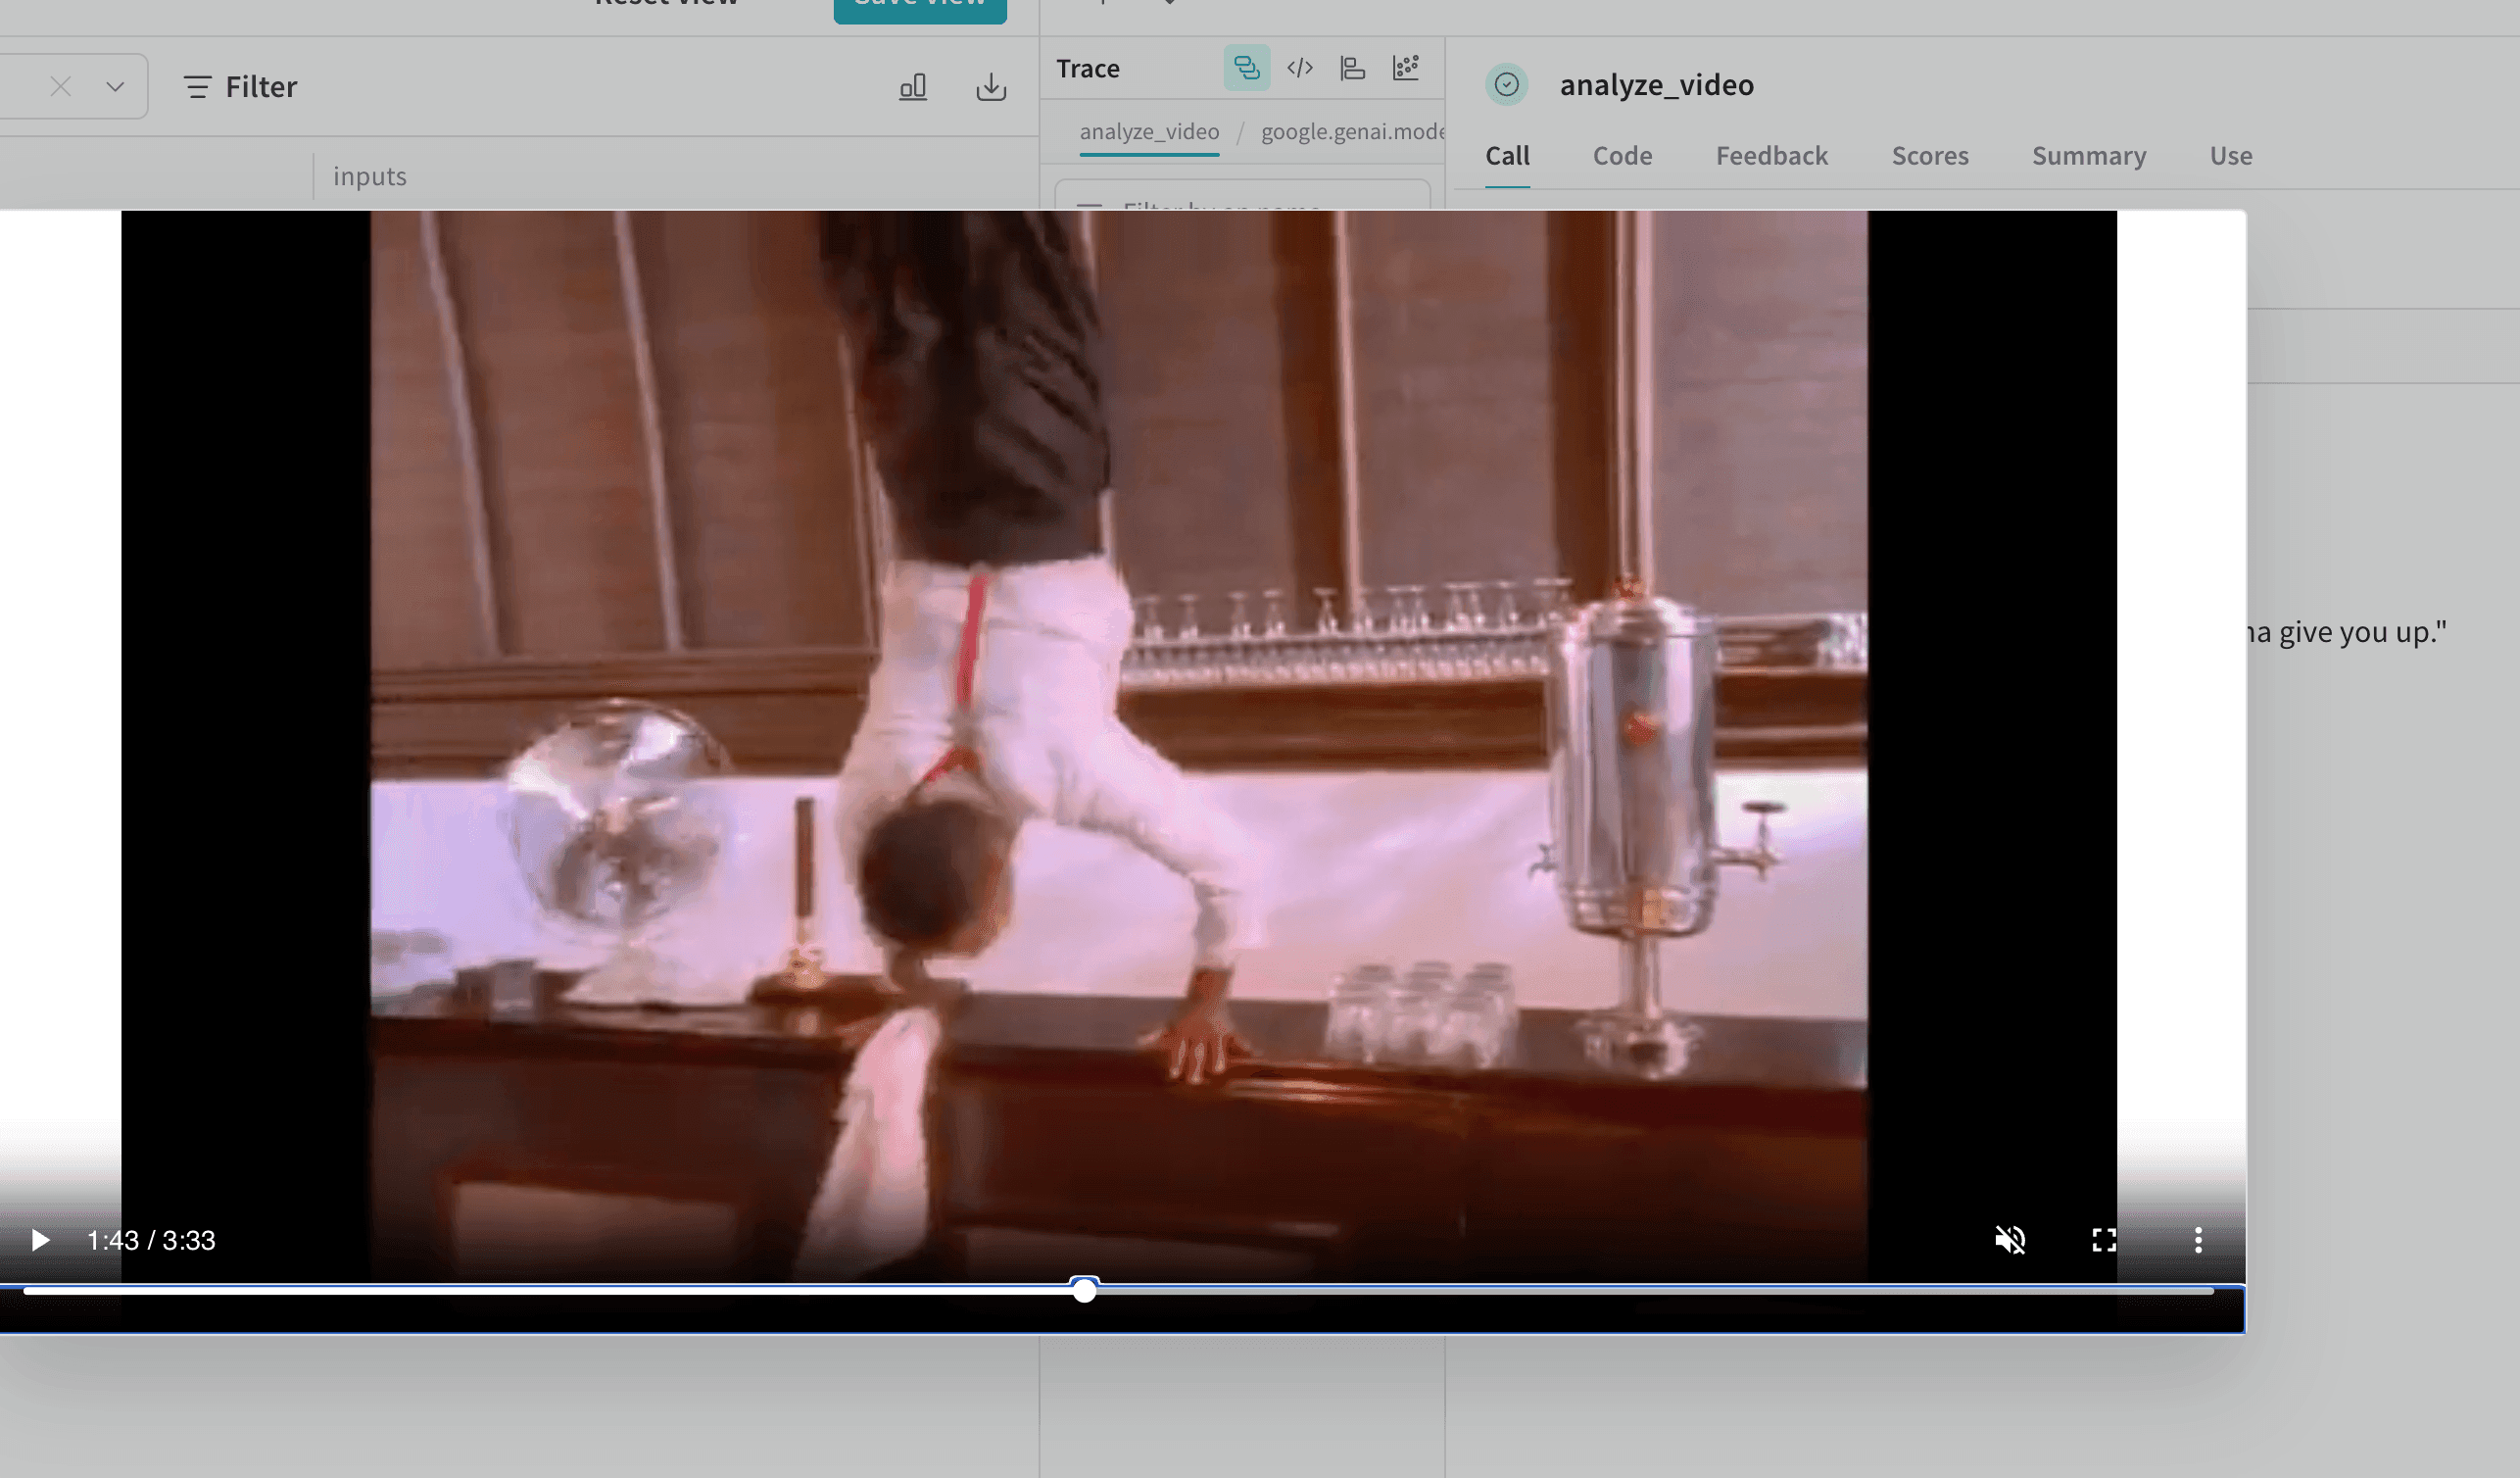
Annotated[bytes, Content] 型で関数にアノテーションを付けることで、動画をログできます。Weave は mp4 動画を自動的に処理します。以下は最小限の例です。応用例: 動画解析 project で動画をログする
次の例では、動画理解 project 内で動画をログする方法を示します。ドキュメントをログする

- Python
- TypeScript
Annotated[bytes, Content] 型で関数にアノテーションを付けるか、Annotated[str, Content[Literal['text']]] でドキュメントのタイプを指定して、ドキュメントをログできます。Weave は pdf、csv、md、text、json、xml のファイルタイプを自動的に処理します。Annotated[str, Content] を使って、ファイルパス経由でログすることもできます。次の例では、入力された PDF ファイルと CSV ファイルのコピーを保存し、その後、関数から返されたファイルの内容も保存します。応用例: RAG システム内でドキュメントをログする
この例では、Retrieval-Augmented Generation (RAG) システム内でドキュメントをログする方法を示します。オーディオをログする
- Python
- TypeScript
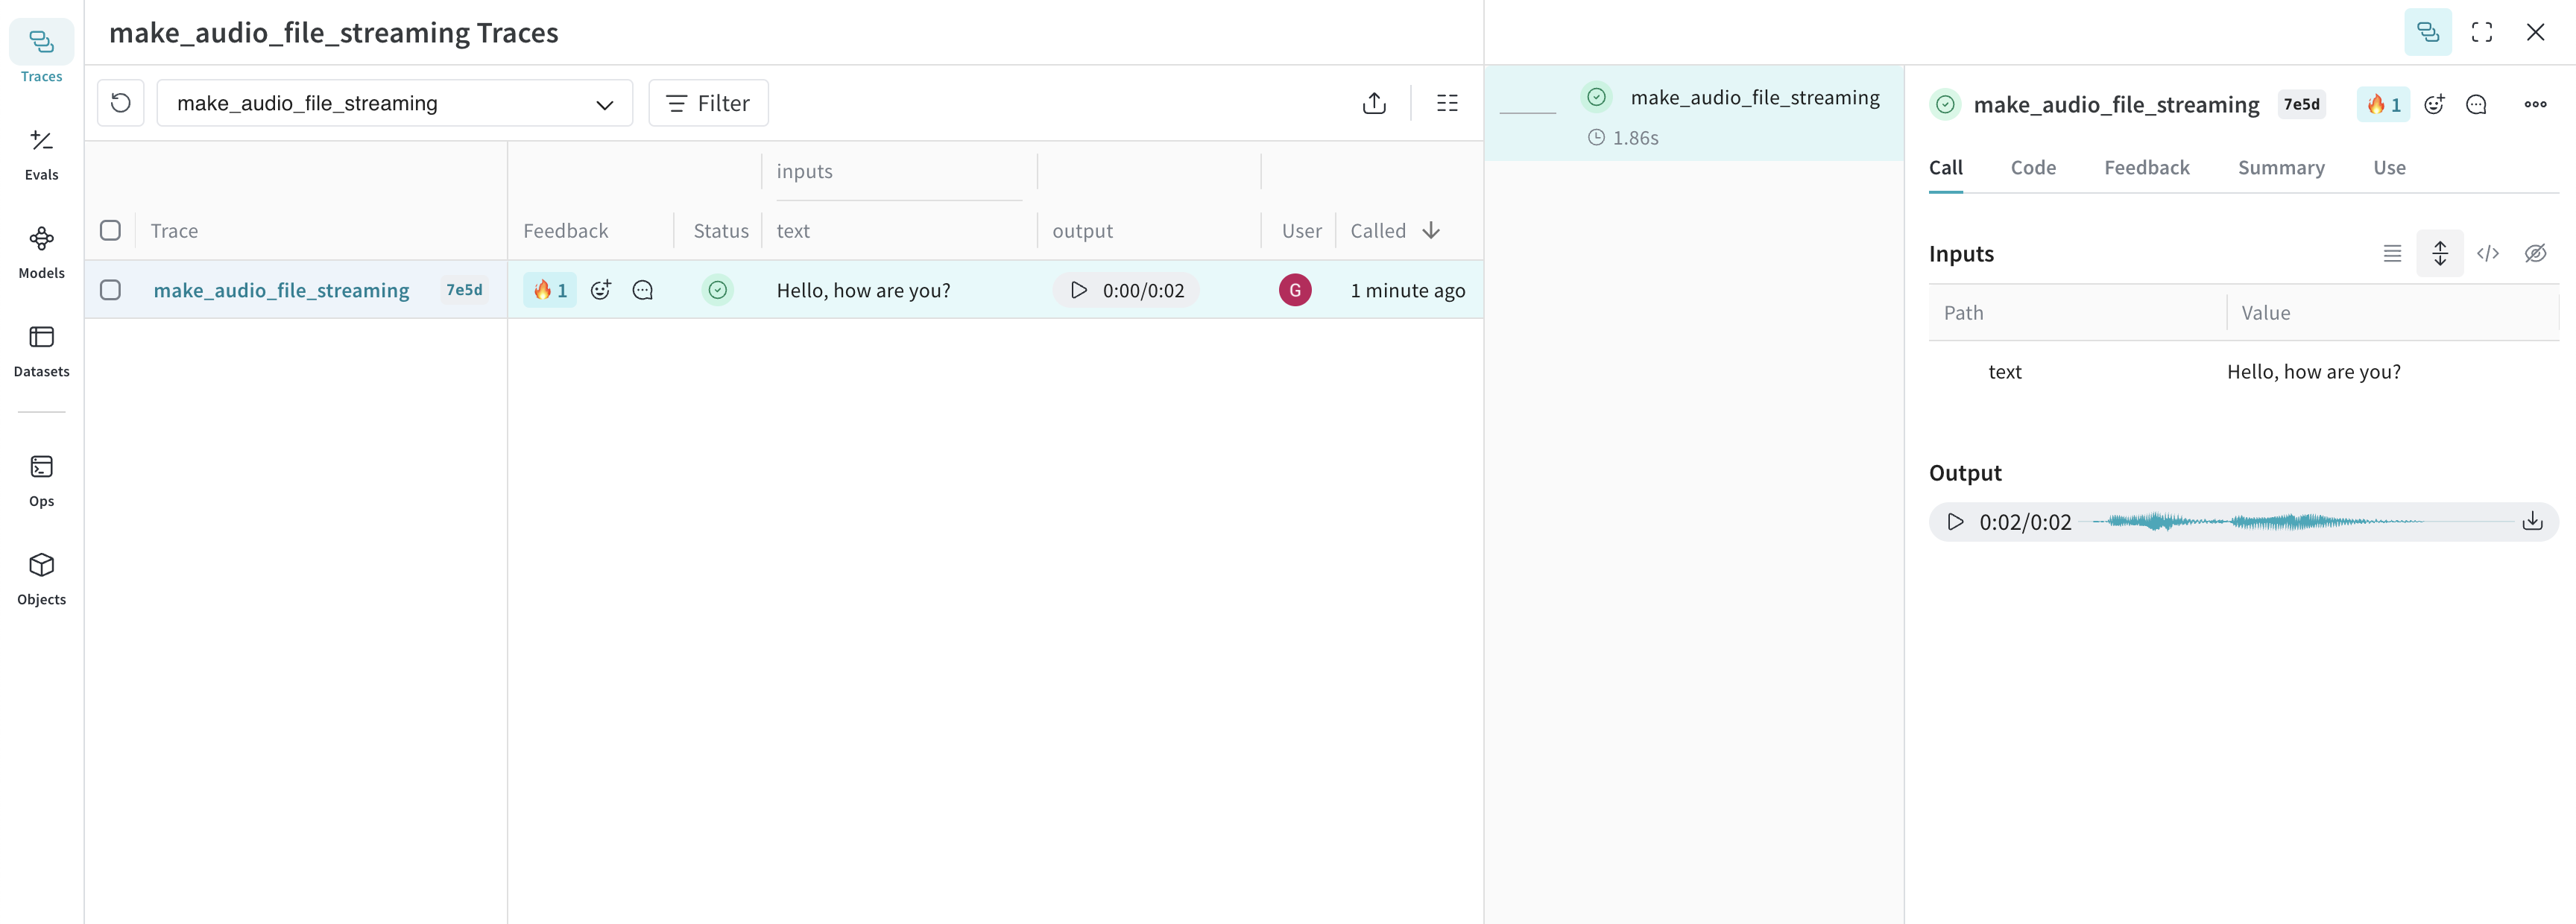
関数に このオーディオは Weave にログされ、オーディオプレーヤーとともに UI に自動的に表示されます。オーディオプレーヤーでは、元の音声波形を表示したり、ダウンロードしたりできます。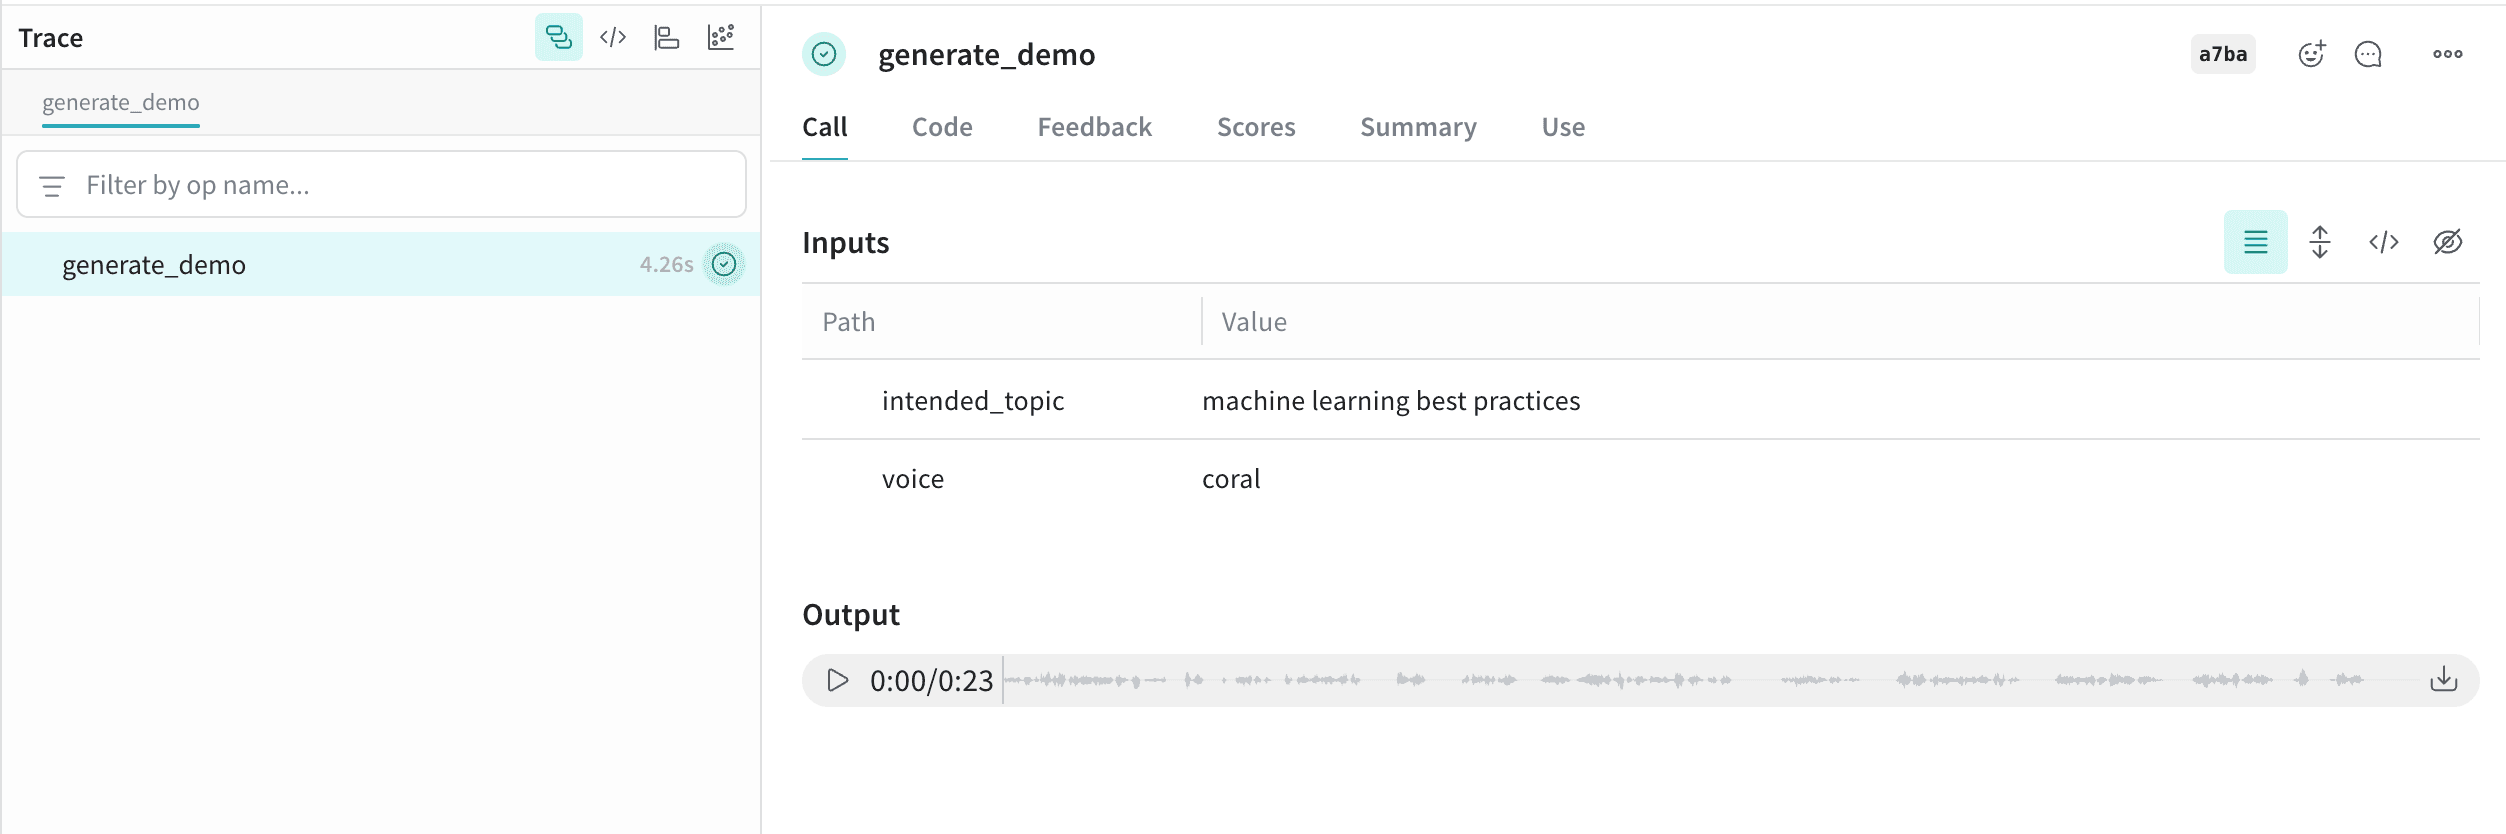
Annotated[bytes, Content] タイプのアノテーションを付けるか、Annotated[str, Content[Literal['mp3']]] でオーディオのタイプを指定すると、オーディオを Weave にログできます。Weave は mp3、wav、flac、ogg、m4a のファイルタイプを自動的に処理します。Annotated[str, Content] を使って、ファイルパスからログすることもできます。次のコードスニペットは、正弦波を生成して録音し、そのオーディオを Weave にログします。高度な例: AI 作成のオーディオを生成してログする
この例では、Content アノテーションを使用して、AI 作成のオーディオを生成してログします。HTML をログする
- Python
- TypeScript
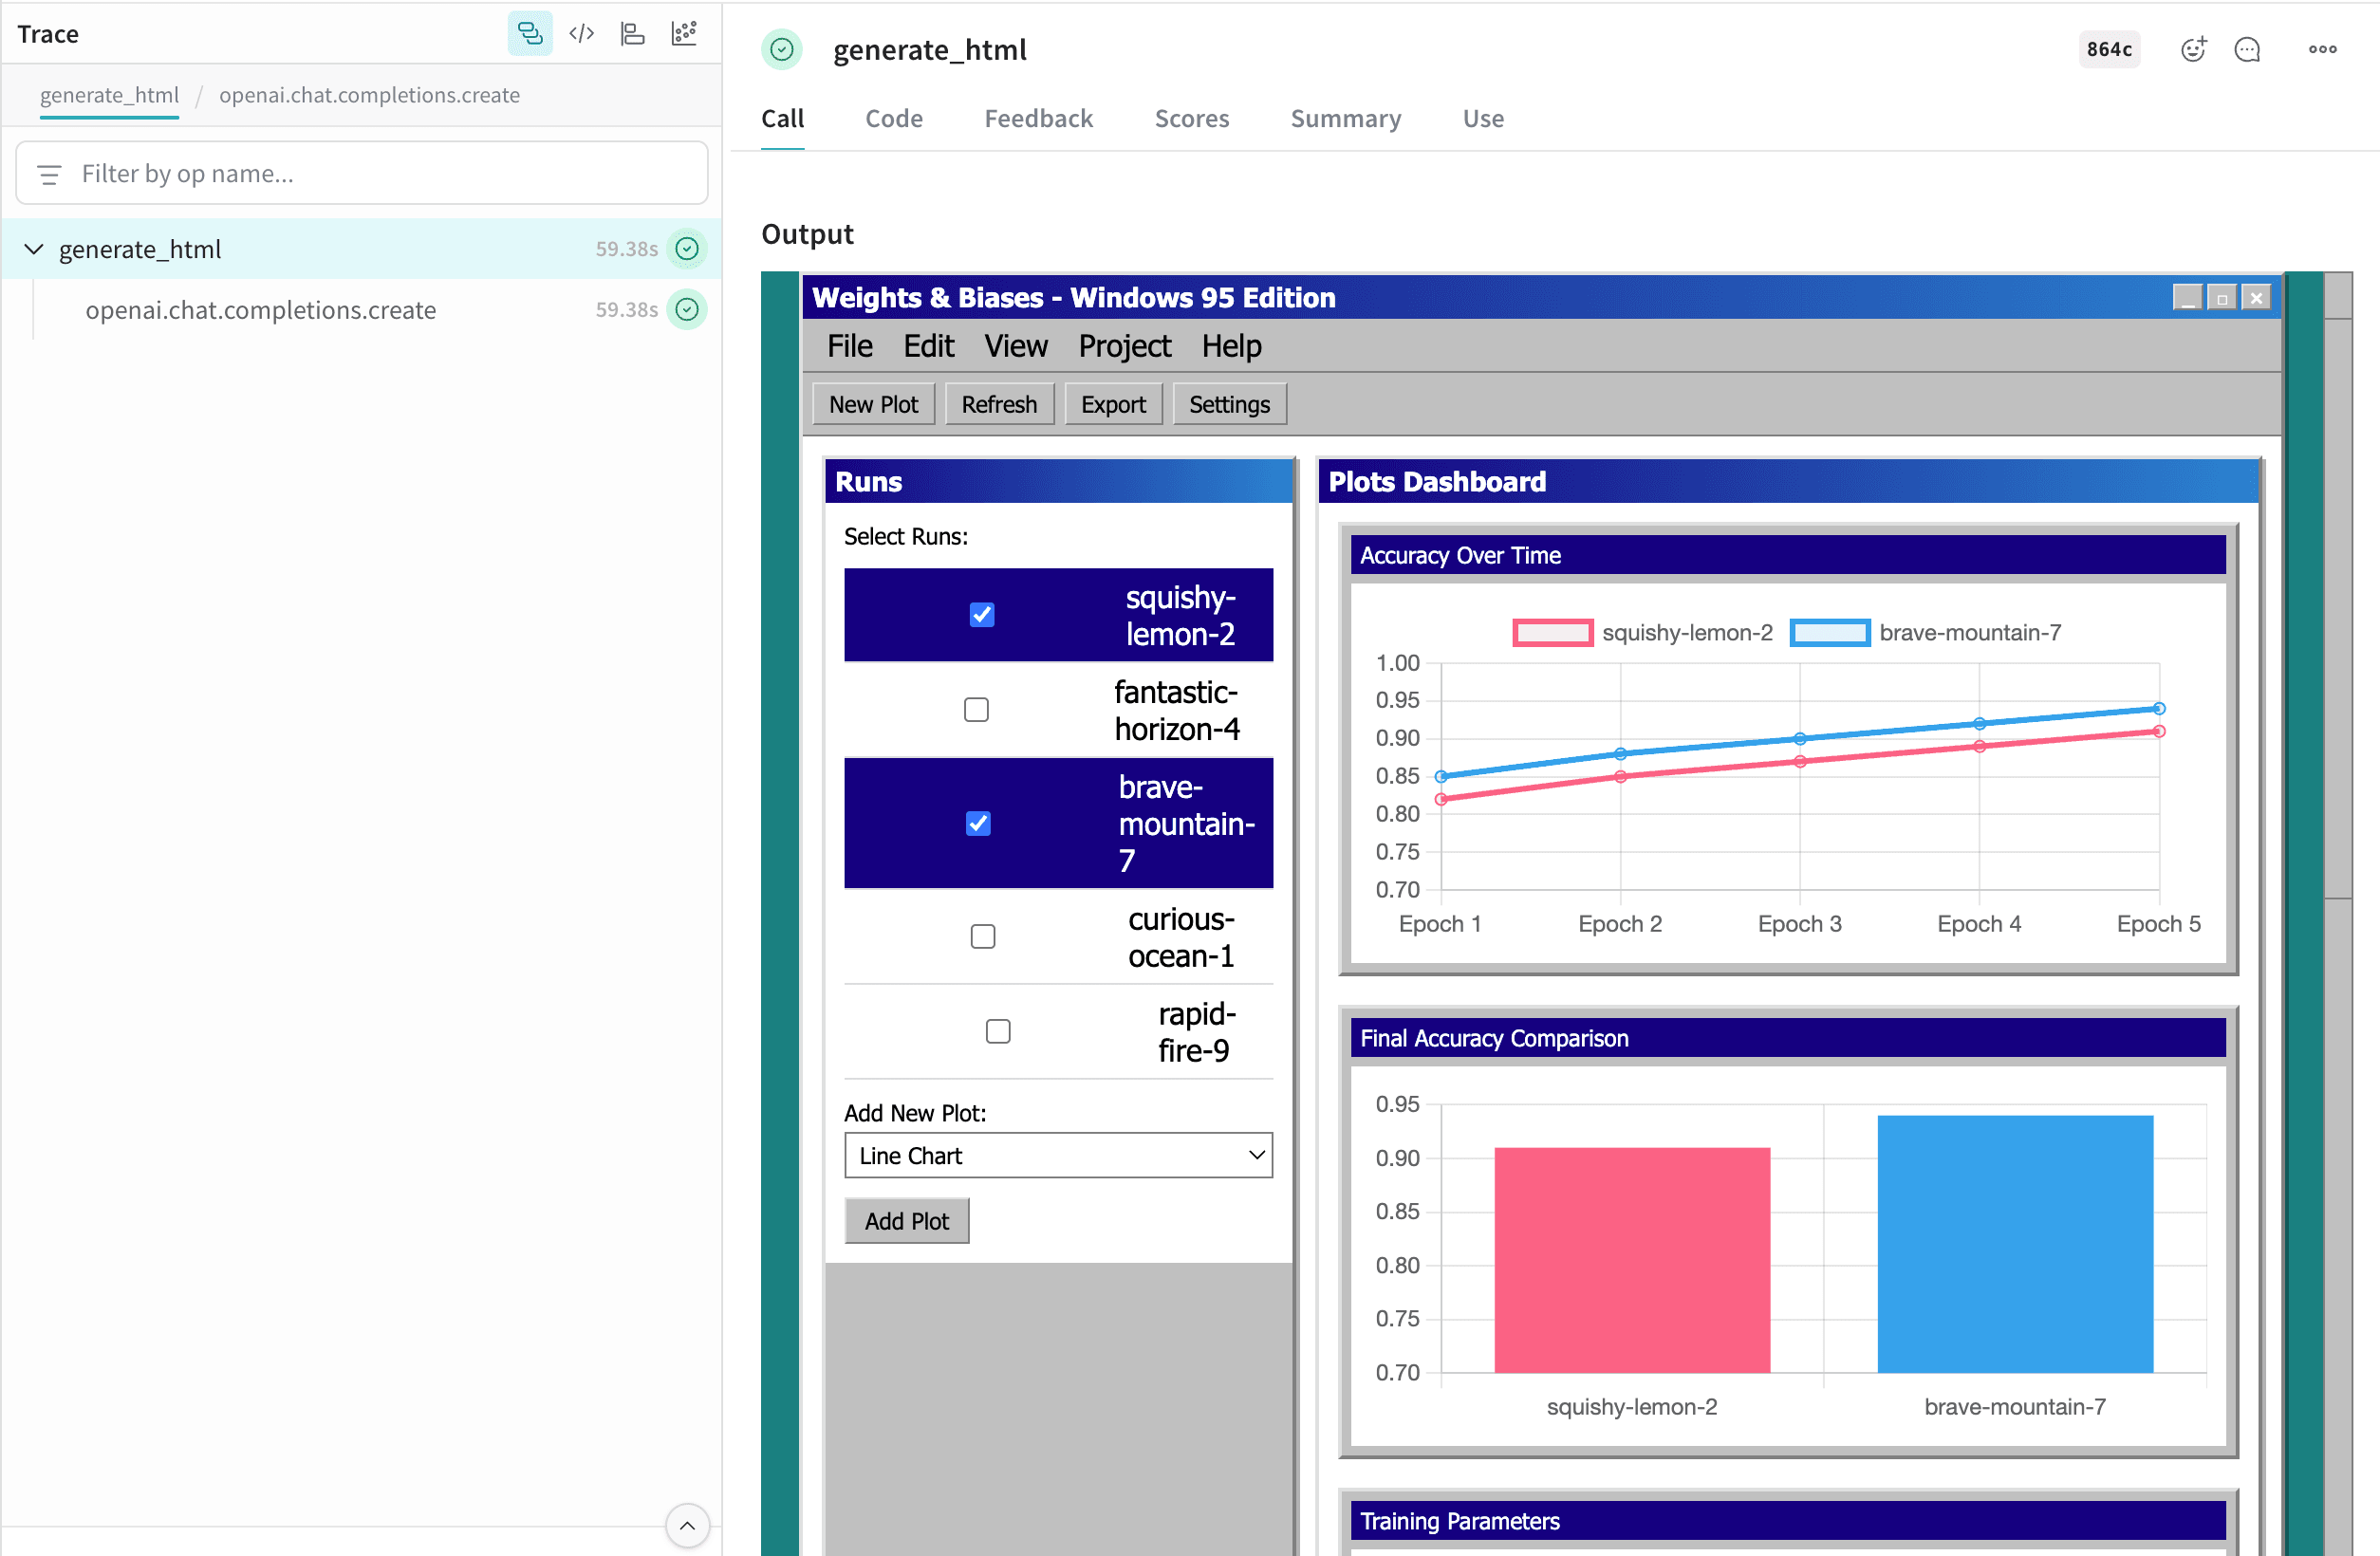
Annotated[bytes, Content[Literal['html']]] で関数にアノテーションを付けることで、インタラクティブな HTML をログできます。次の例では、最小限の HTML ページを作成して Weave にログします。高度な例: Serverless Inference を使用して単体で完結する HTML ページを生成し、Weave にログする
この例では、Serverless Inference を使用して単体で完結する HTML ページを生成し、それらのページを Weave にログします。file_name.html セルをクリックすると、フルスクリーンで開きます。元の .html ファイルをダウンロードすることもできます。
Contents API
Content API は Python でのみ利用できます。
使用方法
型アノテーション
直接初期化
- デフォルトのアプリケーション (PDFビューアーなど) でファイルを開く。
- モデルをJSONにダンプして、独自のblob storage (S3など) にアップロードする。
Contentblob に関連付けるカスタムメタデータ (その生成に使用したモデルなど) を渡す。
Content.from_path- ファイルパスから作成。Content.from_bytes- 生のバイト列から作成。Content.from_text- テキスト文字列から作成。Content.from_base64- base64エンコードされたデータから作成。
カスタムMIMEタイプ
型アノテーションを使ったカスタムMIMEタイプ
直接初期化によるカスタムMIMEタイプ
Contentのプロパティ
属性
ユーティリティメソッド
save(dest: str | Path) -> None: コンテンツをファイルに保存します。open() -> bool: システムのデフォルトアプリケーションでファイルを開きます (事前にコンテンツが保存されているか、パスから読み込まれている必要があります)。as_string() -> str: データを文字列として表示します (bytes は encoding 属性を使用してデコードされます)。
初期化 method
contentオブジェクトを作成します。
content オブジェクトを作成します:
content オブジェクトを作成します:
content オブジェクトを作成します: